PART 2 Envrionment Setup
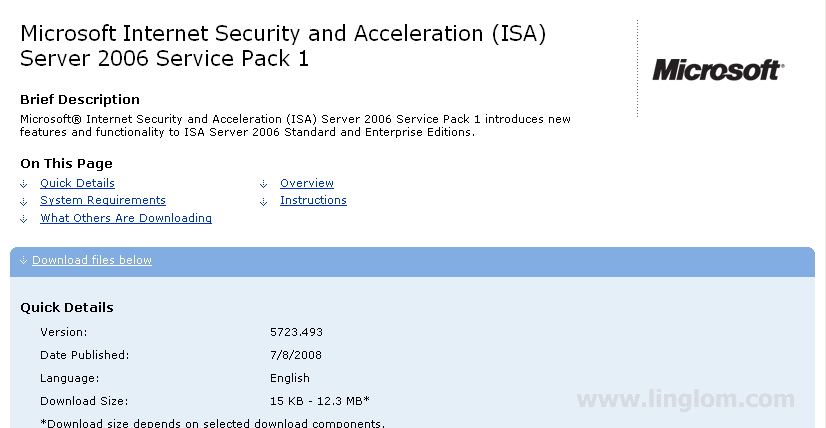
System Requirements
Below is the minimum requirements for ISA Server 2006 Standard Edition or ISA Server 2006 Enterprise Edition.
- Pentium III 733 MHz or higher.
- 512 MB of RAM or more.
- 150 MB of free hard-disk space.
- Microsoft Windows Server 2003 32-bit operating system with Service Pack 1 (SP1) or Microsoft Windows Server 2003 R2 32-bit.
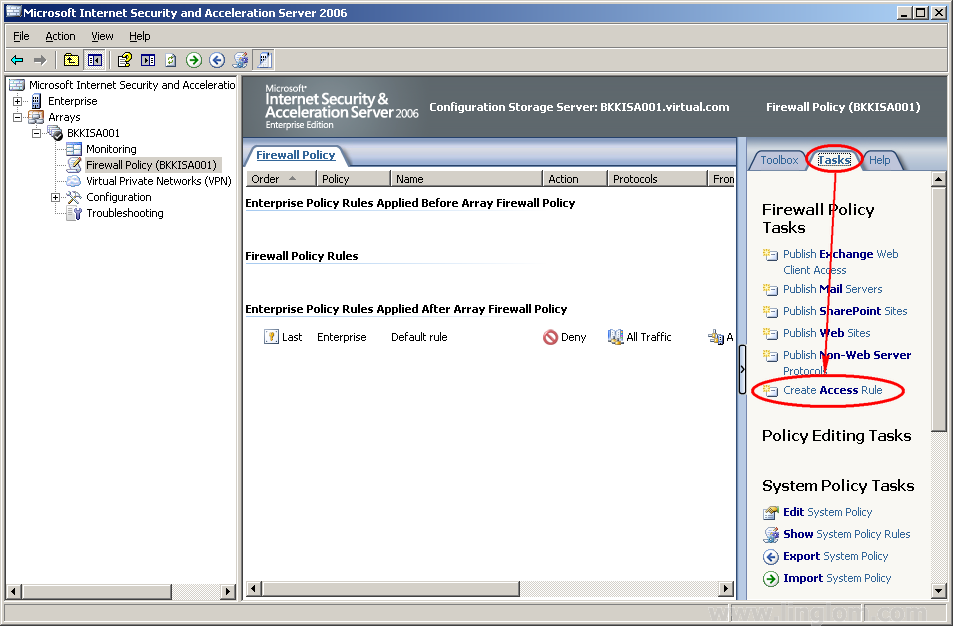
Server Configuration
There are three servers which I will use throughout this series. I already have the following servers in the network:
- BKKPDC001 which runs under Windows Server 2003 R2 with Service Pack 2. It runs these services:
- Active directory
- DNS
- DHCP
- Address pool: 192.168.10.101-192.168.10.150
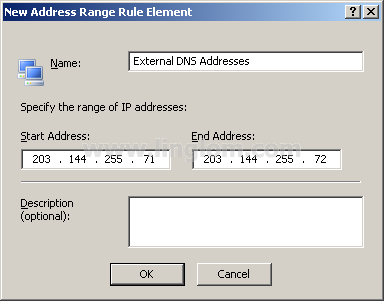
- Scope option: DNS Servers – 192.168.10.2, 203.144.255.71, 203.144.255.72
Note: The IP address 203.144.255.71 and 203.144.255.72 are the IP addresses of my ISP’s DNS servers.
- IP Configuration:
- IP address: 192.168.10.2/24
- Gateway: 192.168.10.10
- DNS Server: 192.168.10.2, 203.144.255.71, 203.144.255.72
Note: The IP address 203.144.255.71 and 203.144.255.72 are the IP addresses of my ISP’s DNS servers.
- BKKNET001 which runs under Windows XP Professional. This is a client PC for test Internet access. The IP address is obtained from the DHCP server.
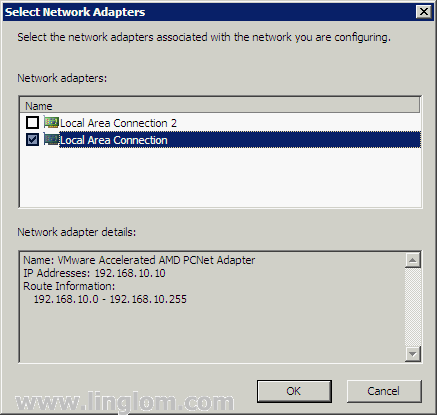
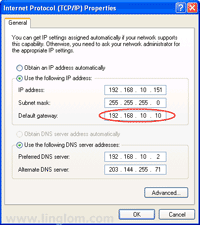
- BKKISA001 which runs under Windows Server 2003 Standard edition with Service Pack 2. I am going to setup ISA Server 2006 on this server. There are two network interface cards on this server.
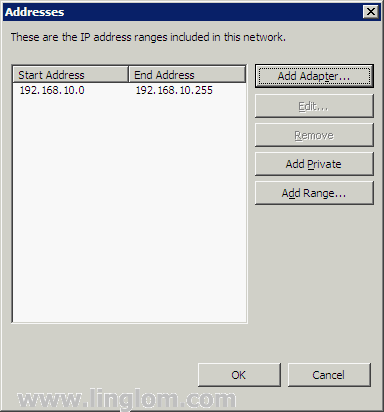
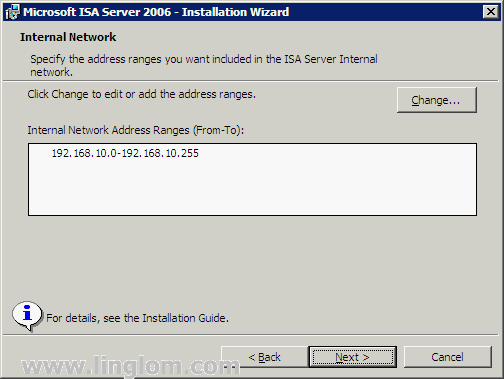
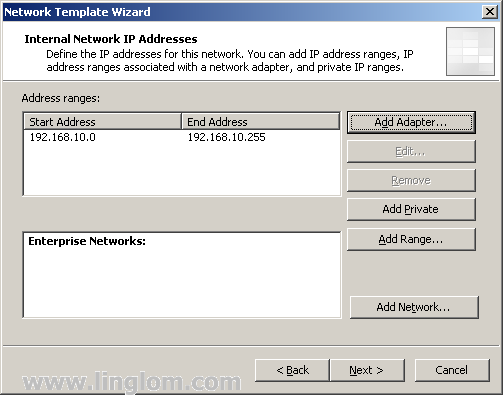
- Internal network (LAN):
- IP Address: 192.168.10.10/24
- Gateway: 192.168.10.2
- DNS Server: 192.168.10.2, 203.144.255.71, 203.144.255.72
Note: The IP address 203.144.255.71 and 203.144.255.72 are the IP addresses of my ISP’s DNS servers.
- External network (the Internet):
- IP Address: 192.168.0.10/24
- Gateway: 192.168.0.1
- DNS Server: None
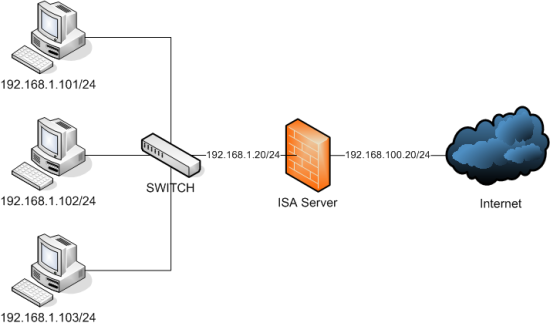
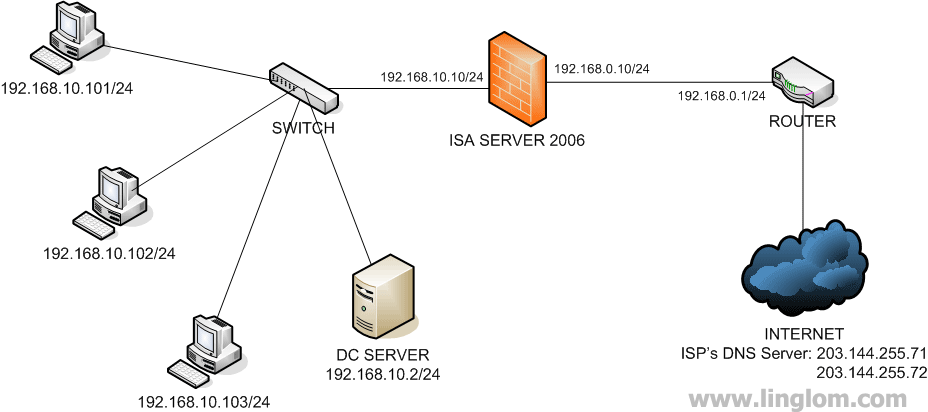
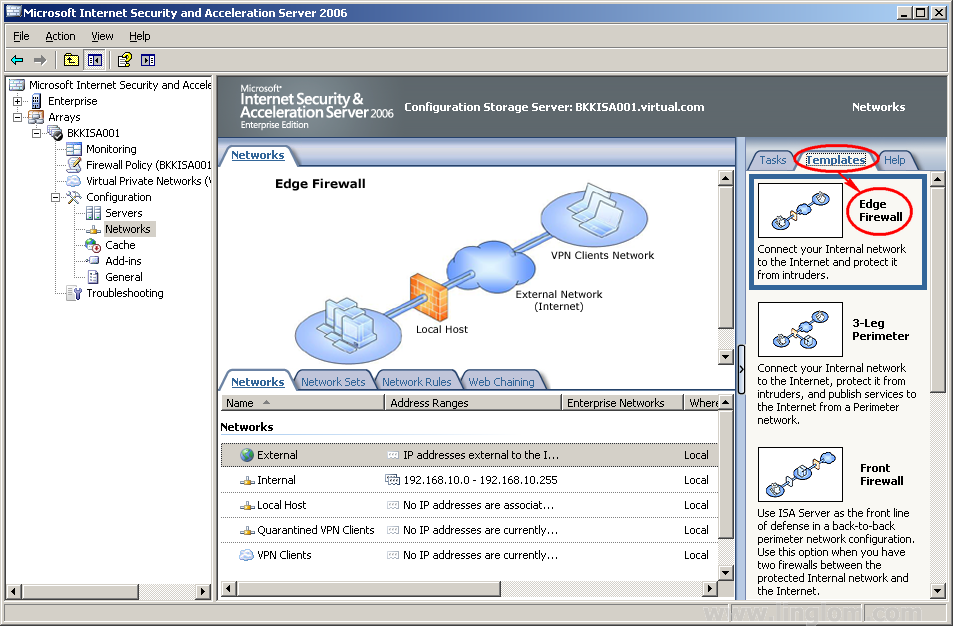
Network Configuration
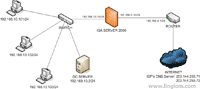
I try to keep the network configuration simple as possible. You will see on the left side of the ISA Server 2006 server are my internal network (LAN). It contains clients and a server of my network. On the right side of the ISA Server 2006 server is the external network. It connects to the router which connects to the Internet.
The image below is the network diagram of my example.

 6سپاس
6سپاس
 LinkBack URL
 About LinkBacks