کد:
http://www.grouppolicy.biz/2010/04/how-to-configure-applocker-group-policy-in-windows-7-to-block-third-party-browsers/
One of the problem that face IT Administrators today is keeping up with all the security updates you need to deploy to your computers to keep them secure. This is even more exacerbated by the very large number of security updates associate with running multiple browsers. Also having multiple browsers on network could mean that you have totally patched one browser using your patch management system only to have user use a different type of browser that is completely un-patches. Another reason IT Administrators might want to block running third-party browsers is the lack of group policy support which makes it very difficult for administrators configured the browser to corporate standards (e.g. home page and/or security settings). Luckily Windows 7 comes with a new feature that prevent the user from running a particular executable called AppLocker which can be used to block all but authorised internet browsers.
AppLocker is a new feature in Windows 7 that allows system administrators to block a particular executable from running on a computer. This is a enhanced version of Software Restriction Policy which did a similar thing in Windows XP/Vista, but it can only block programs based on either a file name, path or file hash. The AppLocker feature takes it a step further and allows administrators block executables based on its digital signature. The benefit of basing this on a digital signature is that you can block programs based on a combination of the version, program name or even vendor name. This means that even if the vendor updates the program with a new version (which happens often with browsers) the AppLocker rules will still apply greatly saving administrative overhead. You can also set the rule based on the program version which means you can set a minimum supported versions that is allowed to run. Another advantage is that AppLocker applies to any program that runs on a computer meaning that no matter where the program is being run from (e.g. USB Memory stick) it will prevent it from running.
Note: You can also use this tutorial to block the running of any other program weather it be from a third-party or even from Microsoft. In this example I show you how to block running Google Chrome on any of your computers in your network however you can just as easily apply the same process to any other browser (e.g. Firefox, Safari).
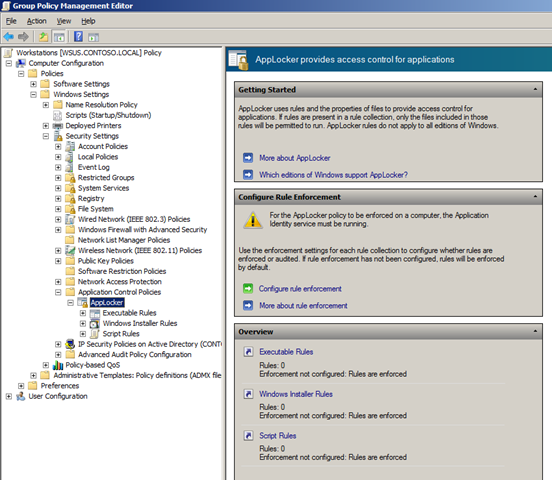
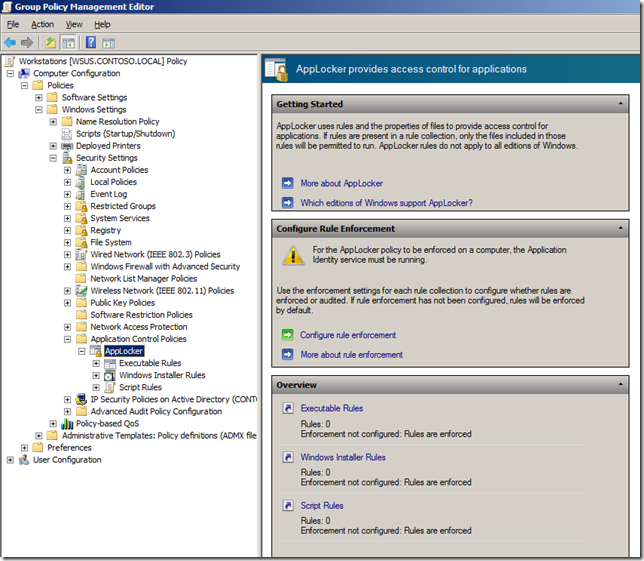
Step 1. Edit the Group Policy Object that is targeted to the computer you want to apply this policy. Navigate to Computer Configuration > Policies > Windows Settings > Security Settings > Application Control Policies and then click on “Configure rule enforcement”
 Step 2.
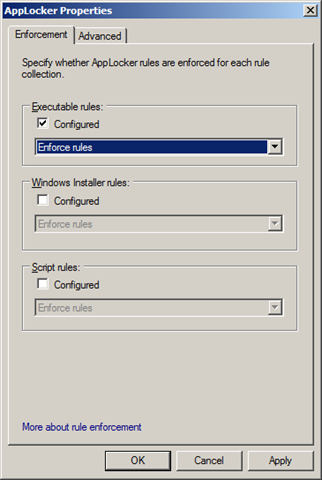
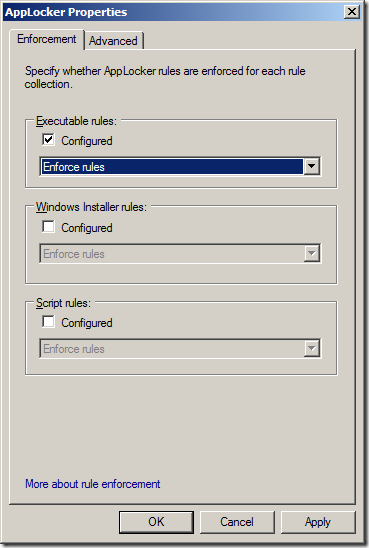
 Under Executable rules tick “Configured” and select the “Enforce rules” option from the pop-down menu then click “OK”.
 Step 3.
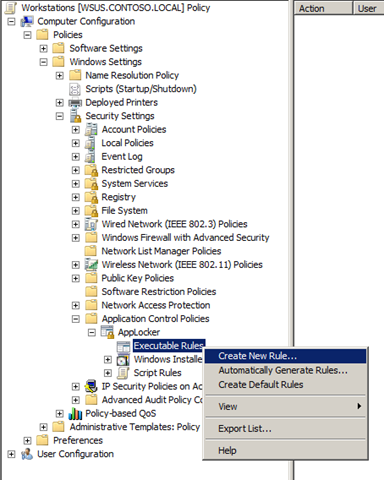
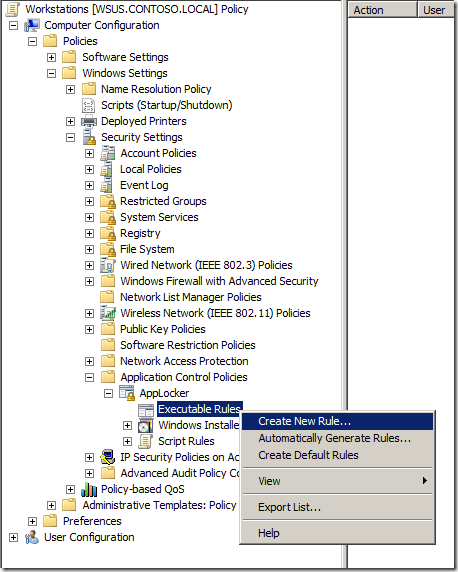
 Right click on “Executable Rules” and click on “Create New Rule..”
 Step 4.
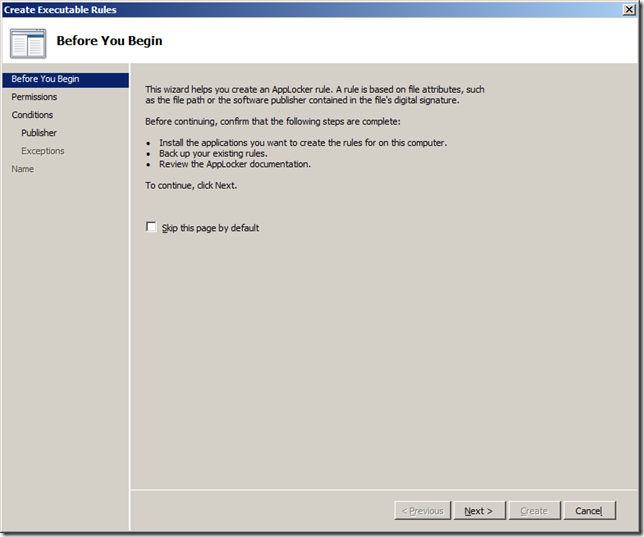
 Click “Next”
 Step 5.
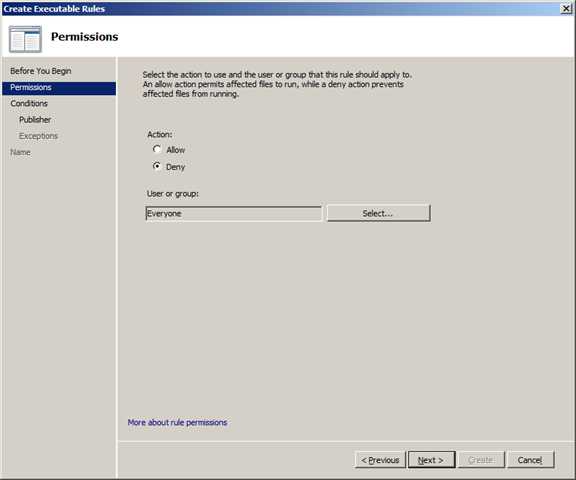
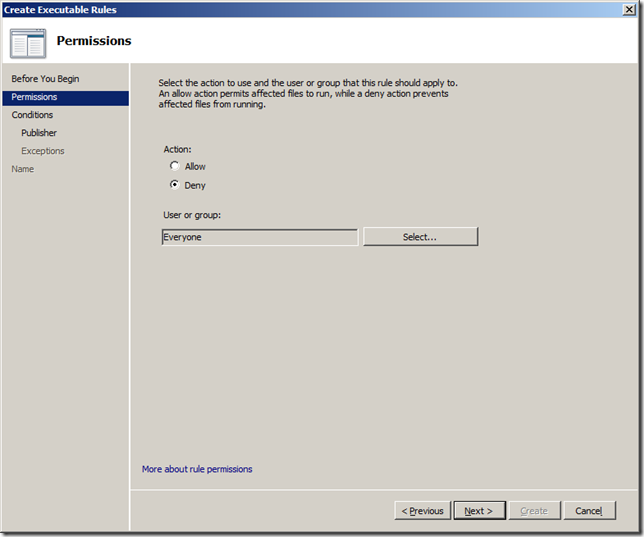
 Select “Deny” and then click “Next”
 Step 6.
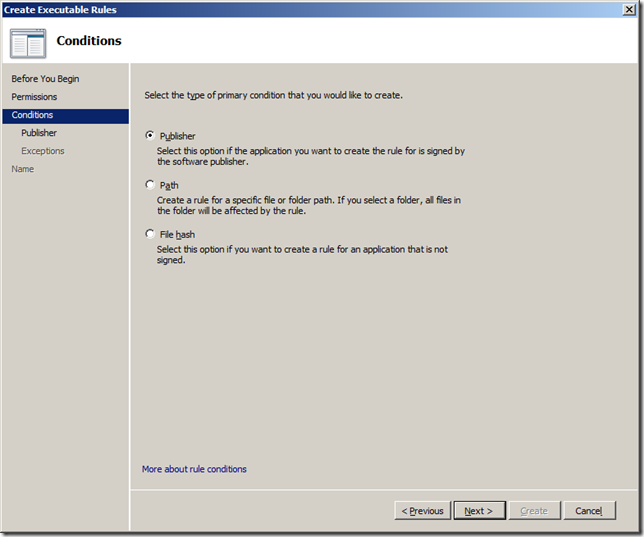
 Select “Publisher” condition and click “Next”
Note: The “Path” and “File hash” option are the same condition as was available in a software restriction policy that was in Windows XP and Vista.
 Step 7.
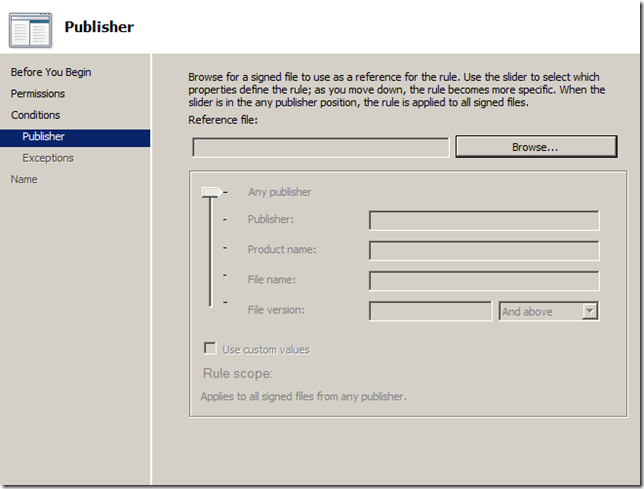
 Click on “Browse”
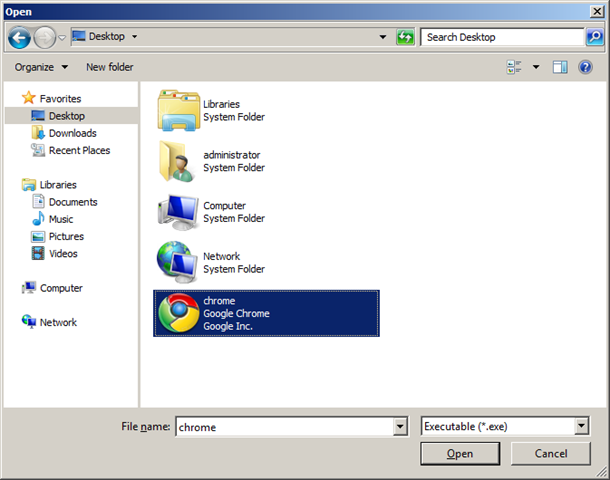
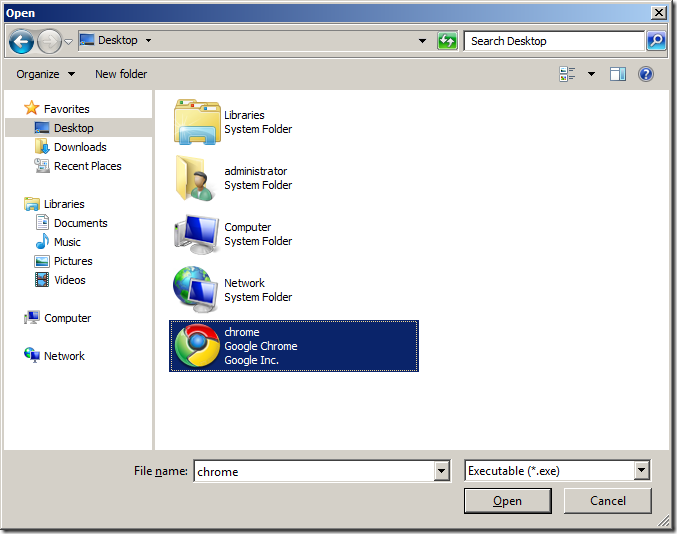
 Step 8.
 Select the “chrome.exe” executable file and click “Open”
Note: Again I have used Chrome as an example you can easily select the executable of any other browsers (including Internet Explorer) here as well if you want to block multiple browsers.
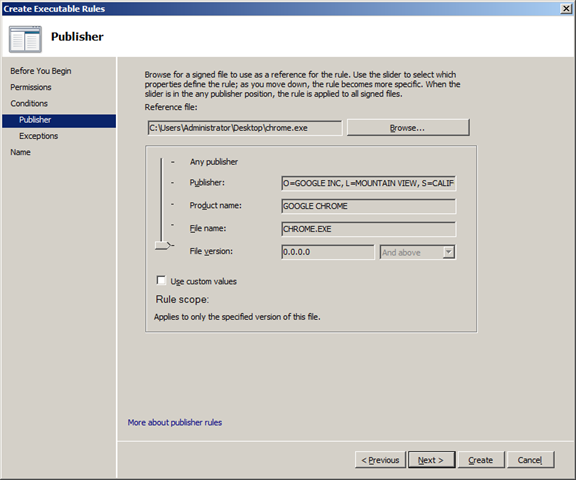
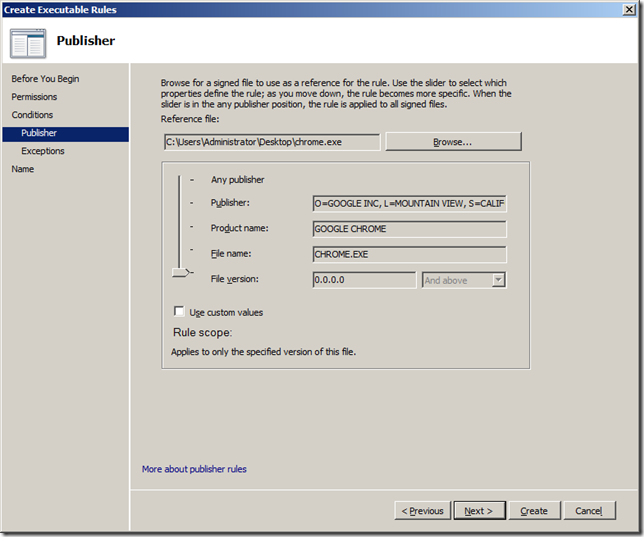
 Step 9.
 In this example we are just going to accept the defaults and click “Next”.
Optional: If you wanted to just block a particular version of browser (or program) or just any version below a certain number tick “Use custom values” and then enter the version number in the “File version” field and select “And Below” from the pop-down menu.
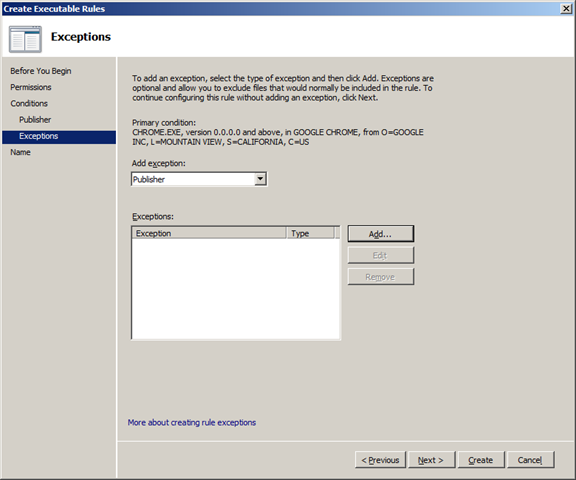
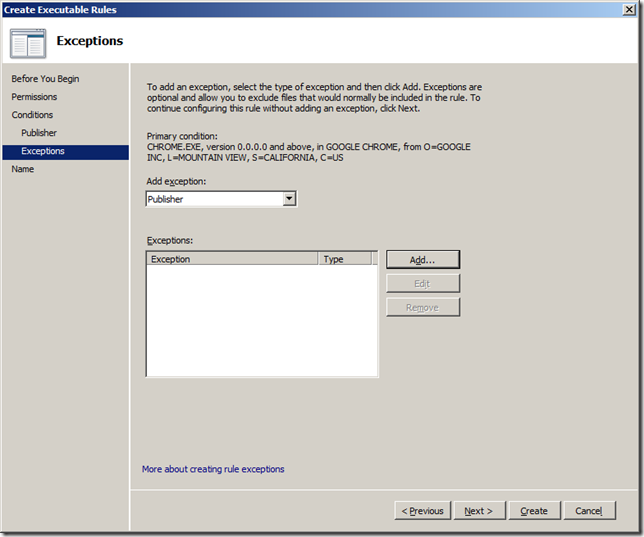
 Step 10:
 Click “Next”
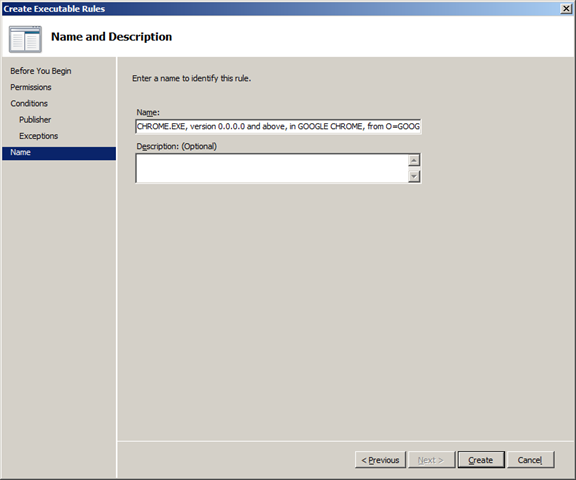
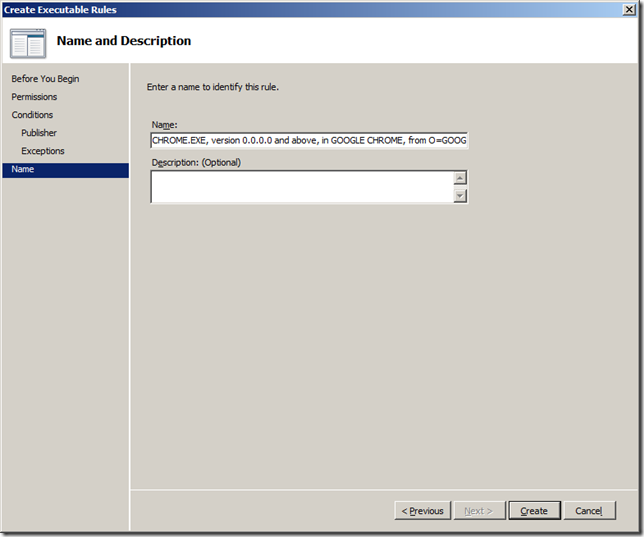
 Step 11:
 Click “Create”
 Step 12:
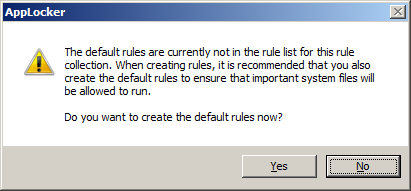
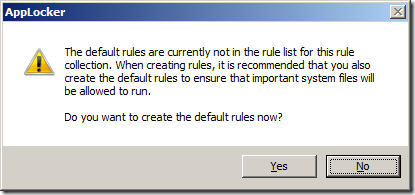
 You will now be prompted to create some default rules that ensure that you don’t accidently stop Windows from working. Click “Yes” to this if you don’t already have these rules created.
 Step 13 (Optional):
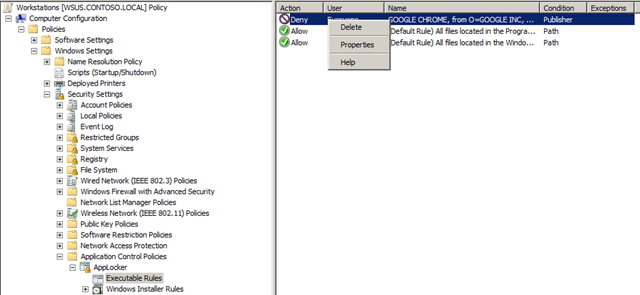
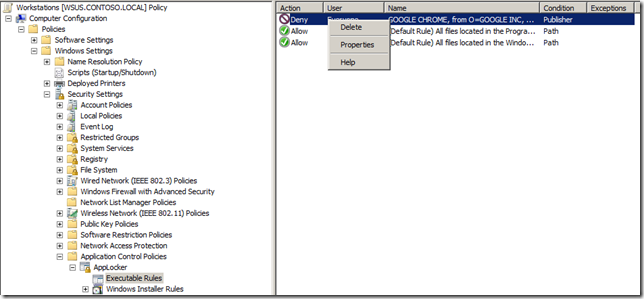
 If you also want this AppLocker rule to apply computer administrators then right-click on the “BUILTIN\Administrators” rule and click “Delete”
 Step 14 (Optional):
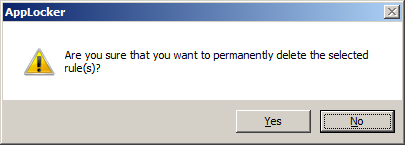
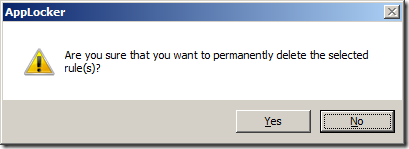
 Click “Yes”
You AppLocker Rules are now setup and should now look like this…

Now there is one more thing you need to do to enable AppLocker on the computer…
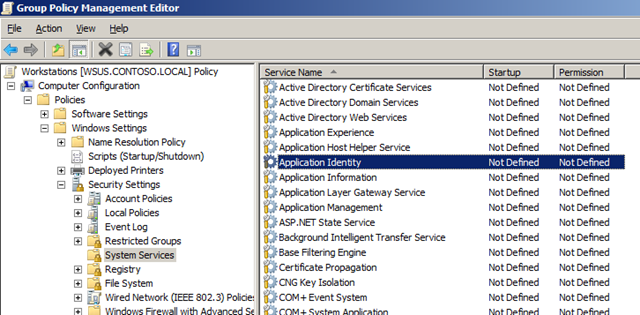
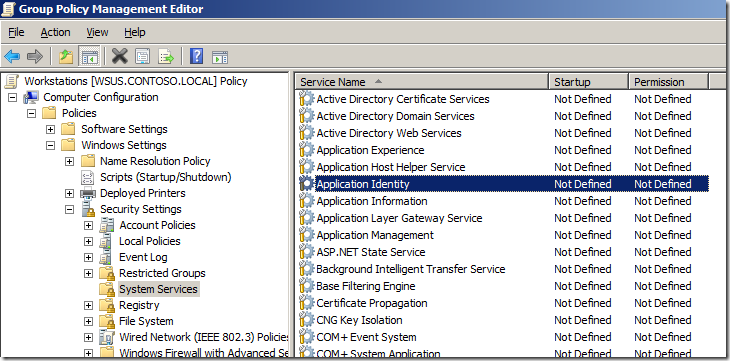
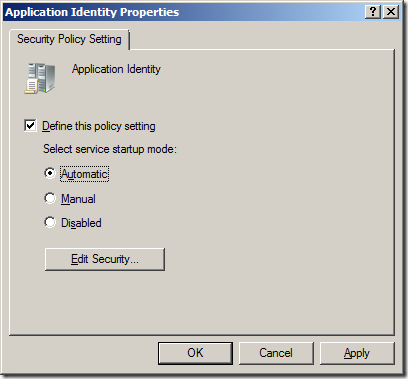
Step 15. In the same Group Policy Object you were just editing navigate to Computer Configuration > Policies > Windows Settings > Security Settings > System Services and double click on the “Application Identity” service.
Note: This is the process that scan’s all the file before they are executed to check the name, hash or signature of the executable before it is run. If this is not turned on then AppLocker will simple now work.
 Step 16:
 Tick “Define this policy setting” and tick “Automatic” then click “OK”
The services section should now look like this…

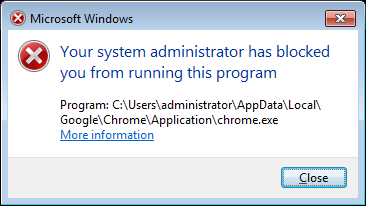
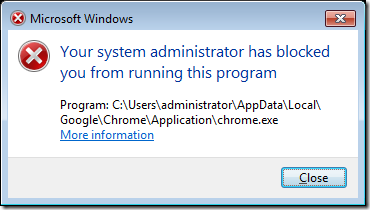
Your all done… Now when the user tries to run an un-approved browser (or program) they will be presented to this dialogue box…
Now if you want to make sure you have covered all the bases below is a an image of the AppLocker rules configured with a few more denied browsers…
 Download as PDF

 LinkBack URL
 About LinkBacks