کد:
http://www.grouppolicy.biz/2010/01/quick-start-step-by-step-for-advanced-group-policy-management-agpm-v4/
Advanced Group Policy Management allows organisation to implement change control and versioning to their Active Directory Group Policies. This allows multiple people to edit Group Policy Object (GPO) with their changes going live the instant the change is made. Any changes to a GPO needs to be check-in, deployed then approved before ever making it to production. This product effectively sits between Active Directory (AD) and Group Policy Administrator so that they never directly need to modify a GPO. To prevent circumventing AGPM a proper implementation should include the removal of all edit/modify permission from all GPO’s for everyone except say the service account and the built-in Administrator domain account.
This guide is loosely based on the steps in the AGPM_40_Step-by-Step_Guide.pdf that comes with ADPM v4 installation files however this version is better (of course) because I have added images for most of the steps along the way.
Scenario. In this example and administrator will install the AGPM Server and Client. Then the users Alan will have Full Control delegated and user John will have only Reviewer/Editor access. John will then create a new Managed GPO and make a change to it and then deploy it for use in production. Alan will then review the GPO and Approve the change. Then Alan will “Manage” an existing unmanaged GPO.
Stage 1. Installing AGPM Client.
It is best you install the Microsoft Advance Group Policy Management Client on any computer in your organisation that has the the Group Policy Management Console (GPMC) installed.
Step 1. Start the Advanced Group Policy Management – Client install.
Step 2. At Welcome dialog box, click
Next.

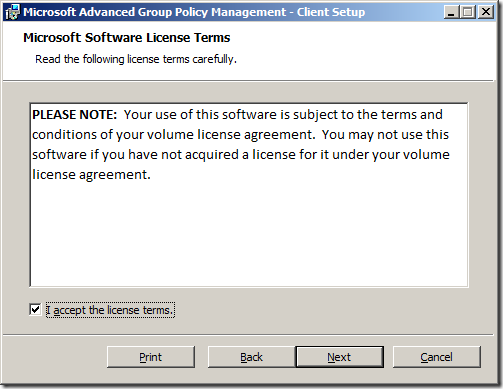
Step 3. Tick
I accept the license terms and click
Next
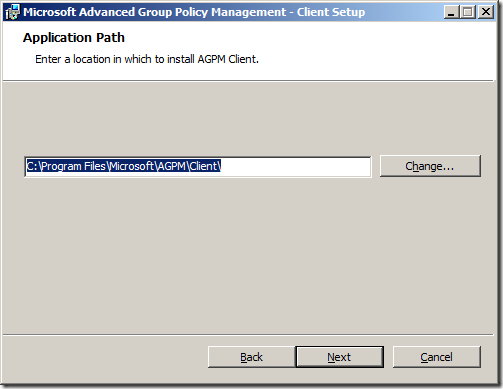
Step 4. Confirm the install patch and click
Next
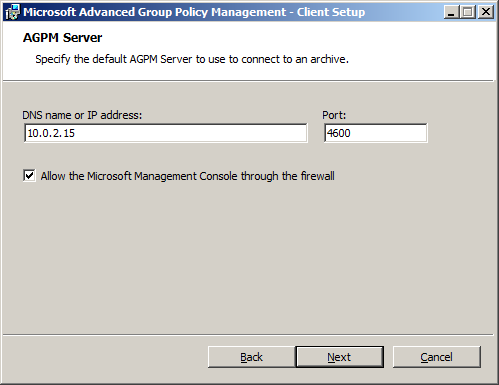
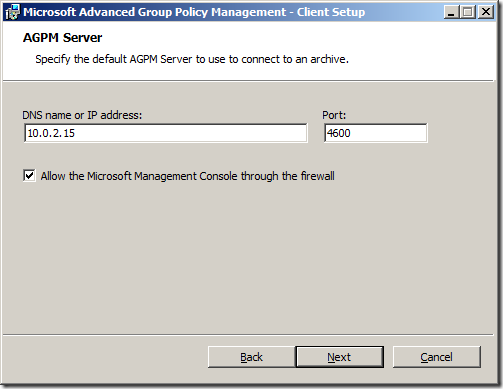
Step 5. Type the IP or DNS Name of the AGPM server and click
Next
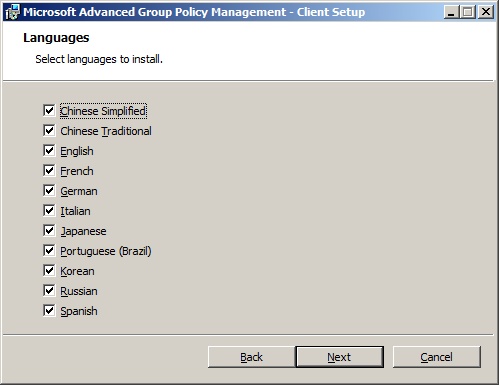
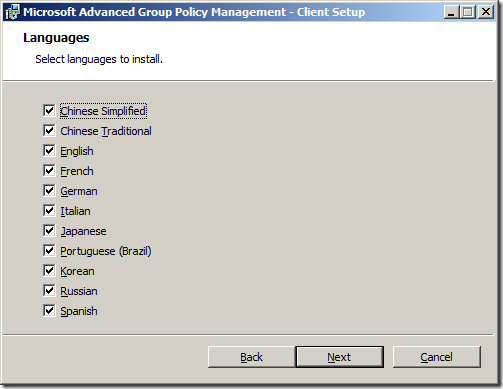
Step 6. Leave all the languages selected and click
Next
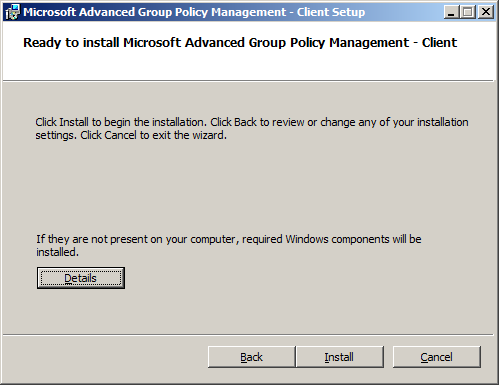
Step 7. Click
Install
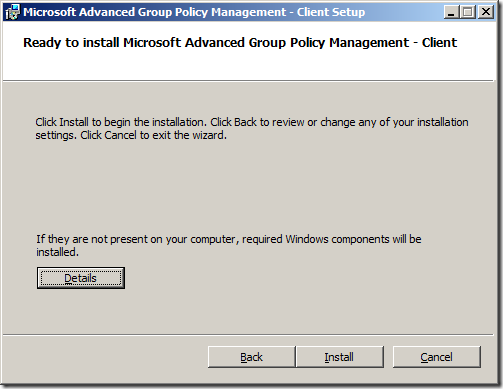
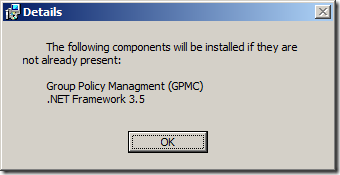
Step 7a. Optional – Click on the
Details button to see the components that will be installed.
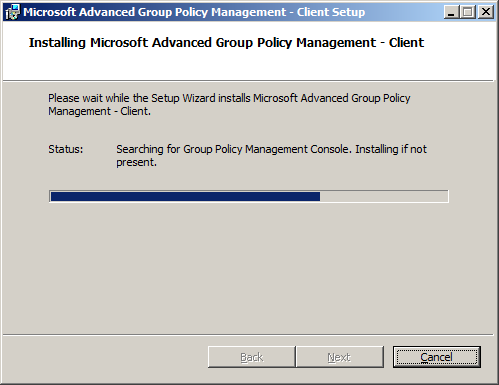
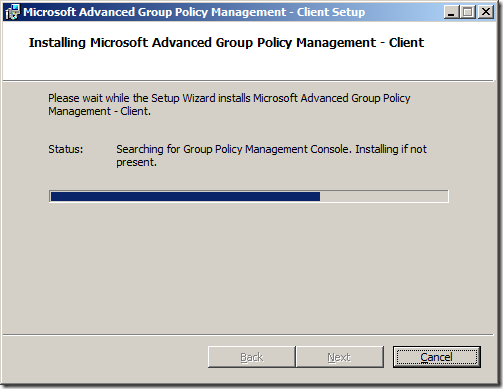
Wait
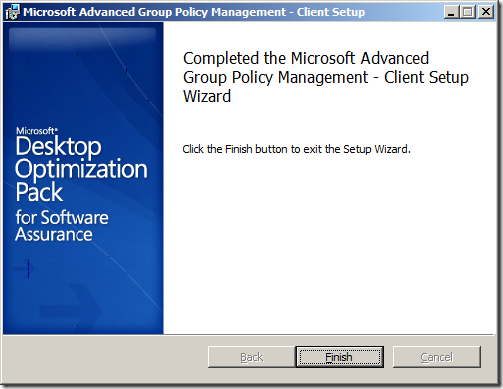
Step 8. Click
Finish to exit the Setup Wizard.
 Stage 2. Installing AGPM Server
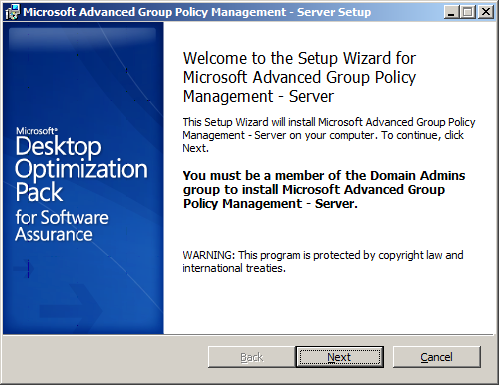
Step 1. Start the Advanced Group Policy Management – Server install.
Step 2. Click
Next
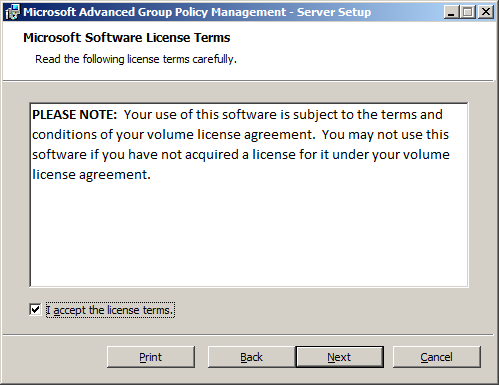
Step 3. Tick
I accept license terms and then click
Next

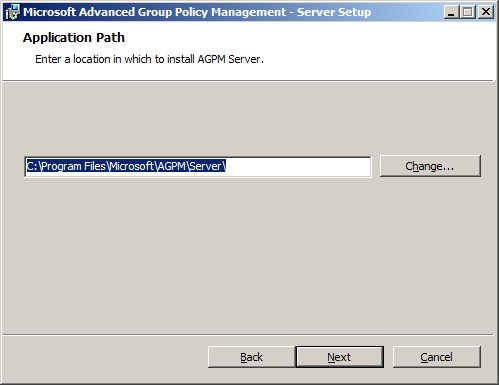
Step 4. Confirm the Application path and click
Next

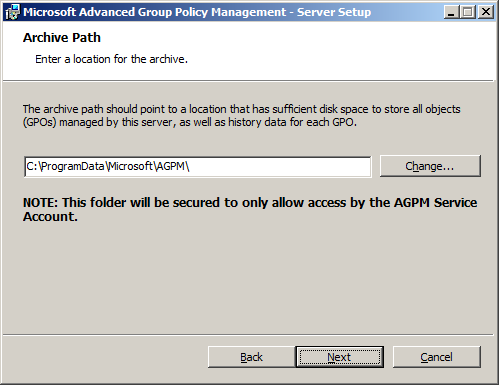
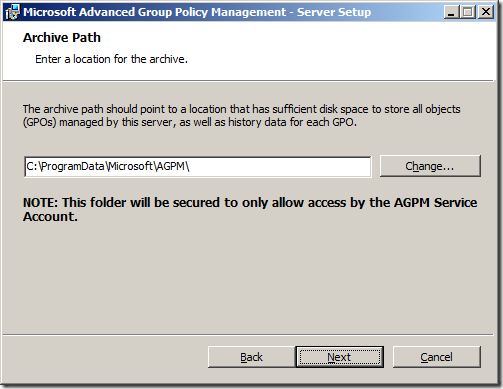
6. Confirm the
Archive Path and click
Next
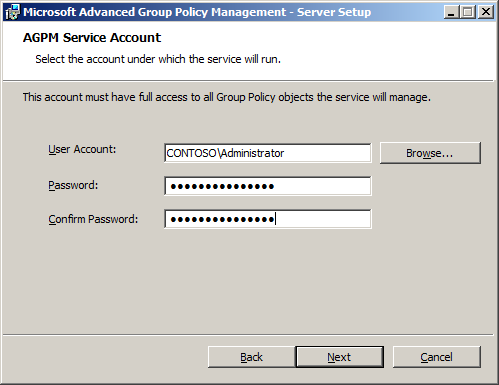
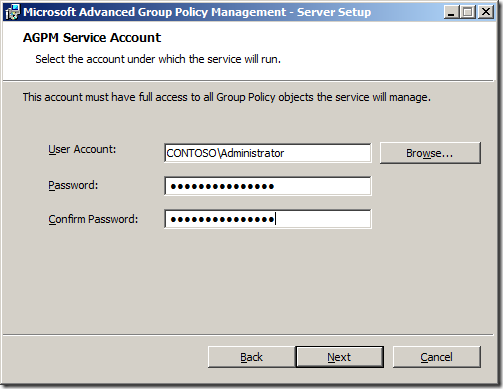
7. Enter the AGPM Service Account details. This account needs to have full access to all GPO that you want to manage using AGPM then click
Next
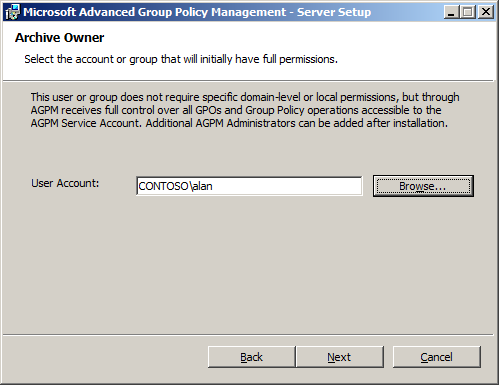
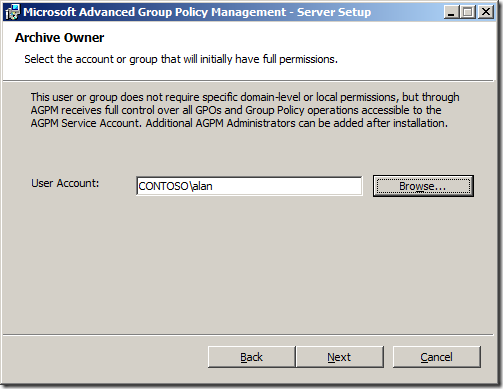
8. Enter the Archive Owner account (e.g. Contoso\Alan ) this account is the first Full Control administrator in AGPM that is used to delegate permission to other users then click
Next
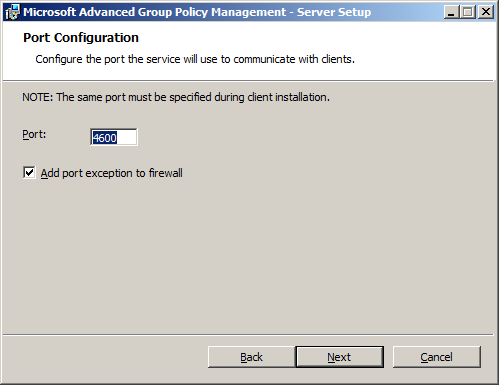
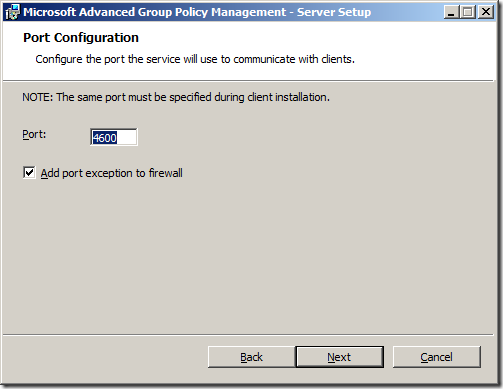
9. Confirm the Port (this needs to be the same as step 5 in the Install Client stage) and click
Next
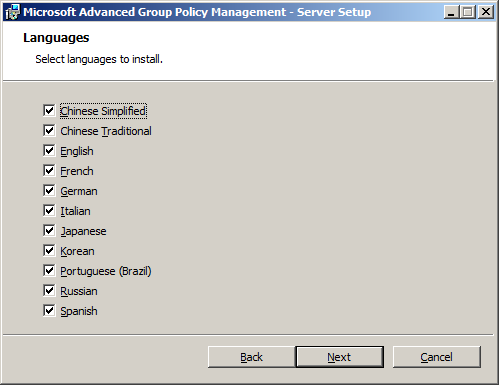
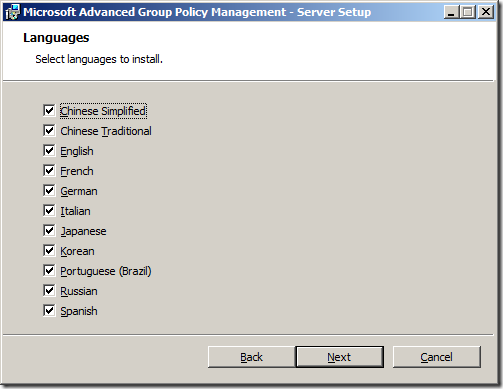
10. Leave all the languages selected and click
Next
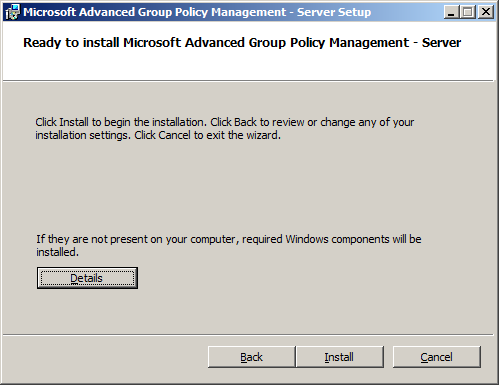
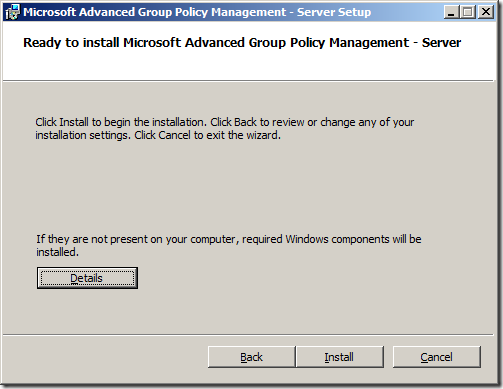
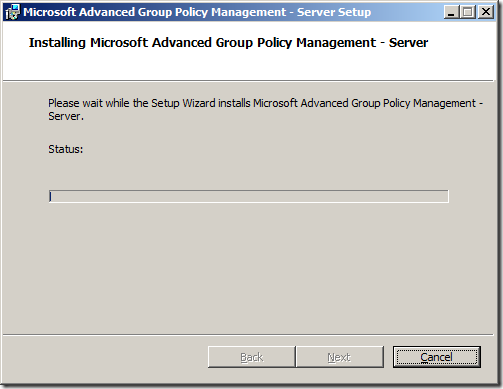
Step 11. Click
Install
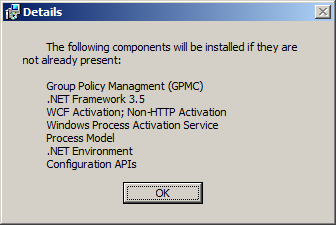
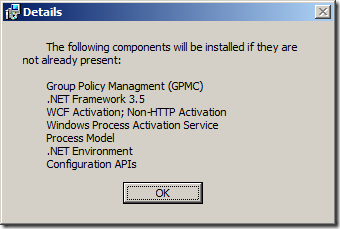
Step 11a. Optional – Click on the Details button to see the components that will be installed.
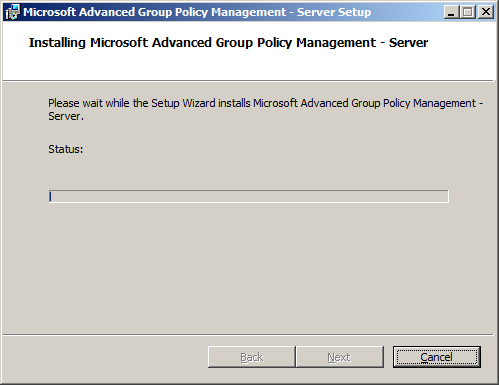
Wait
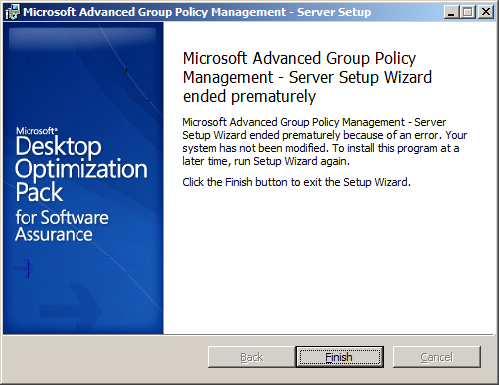
Step 12. Click
Finish
 Stage 3. Now you can configure AGPM client via Group Policy to automatically connect to the AGPM server. In this example I modify the Default Domain Policy so that it would apply to all Servers and Workstations.
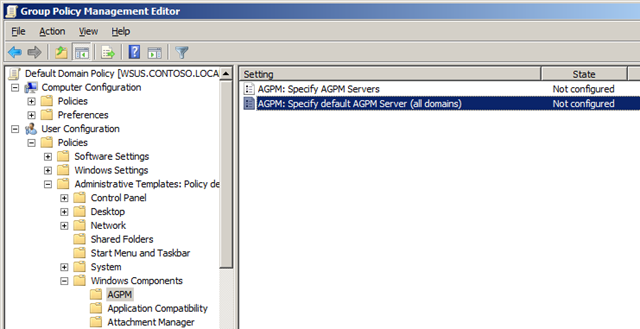
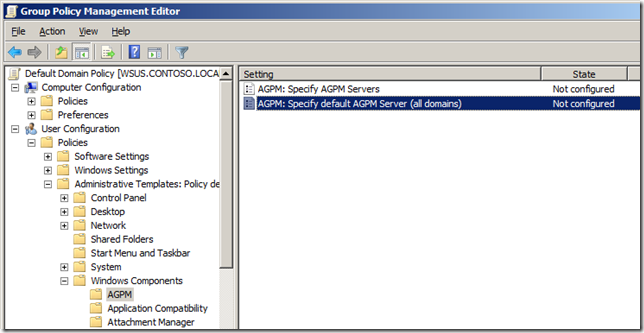
Step 1. Edit the Default Domain Policy using the Group Policy Management Editor (GPME) and navigate to Users Configuration > Policies > Administrative Templates > Windows Components >
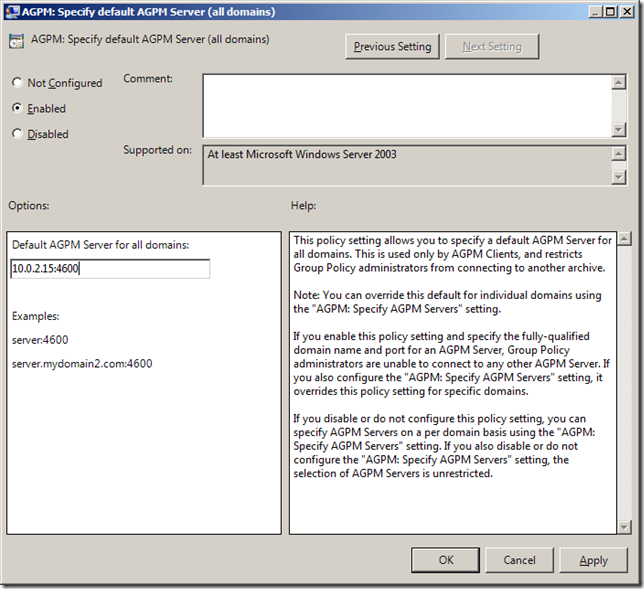
AGPM then edit the AGPM: Specify default AGPM Server (all domains)
Step 2. Tick Enable and then type the name/IP address then :
Port number of the AGPM Server in the text field then click
OK
(Hopefully this is the last non-managed GPO change you ever make again)
 Stage 4. Now you need Delegate permission to John to be able to Review/Edit GPO’s.
Step 1. Open GPMC on a computer that you have installed the AGPM client on.
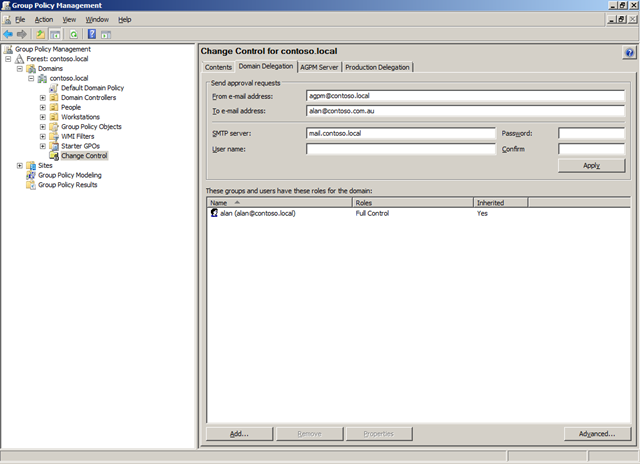
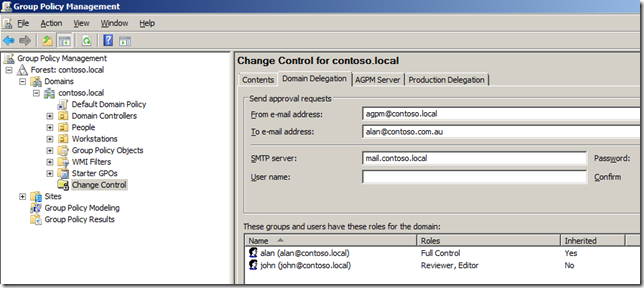
Step 2. Navigate and click on
Change Control option and then the
Domain Delegation tab then click
Add

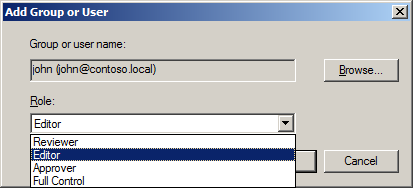
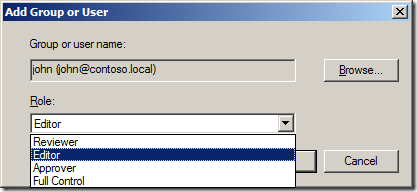
Step 3. Select the user John and then select the Editor from the role field then click
OK
John now has Reviewer/Edit access to AGPM (that was easy!).
 Stage 5. Creating a New Controlled GPO
Now you are going to logon as John and create a fresh new Controlled GPO to have it then approved by Alan.
Step 1. Logon as John to a computer that has GPMC and the AGPM client
Step 2. Open GPMC and right click on
Change Control and then click on
New Controlled GPO…

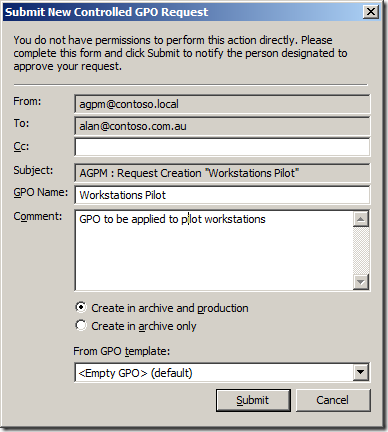
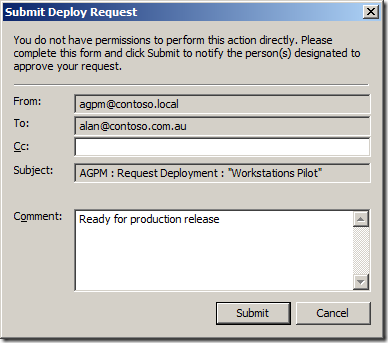
Step 3. Fill in the submission field so that an email will be sent to the AGPM administrator to review the New Controlled GPO Request then click
Submit
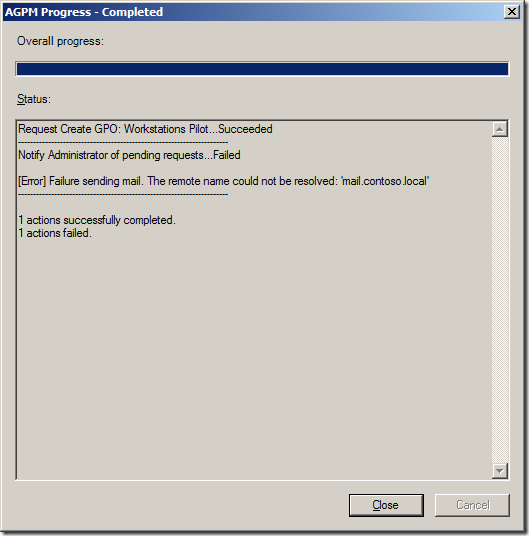
Step 4. Click
Close
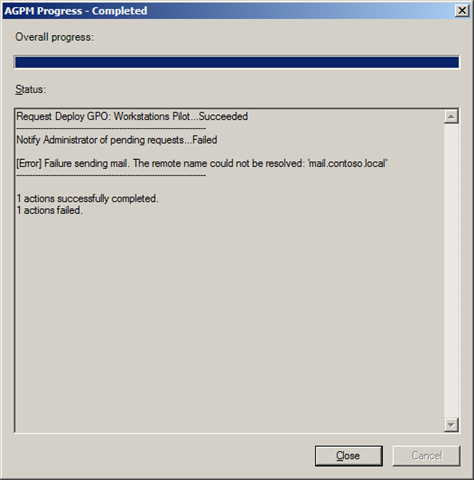
Note: In this example I don’t have a mail serve configured so the sending the of the email failed.
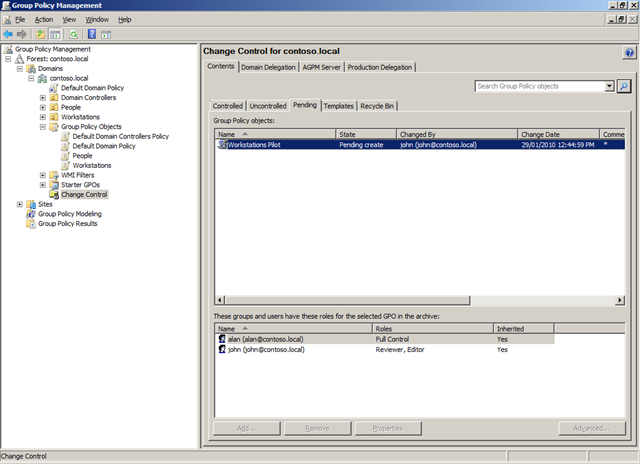
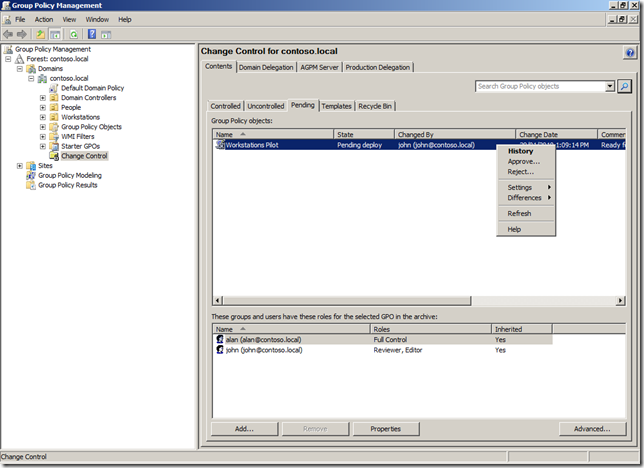
Step 5. Click on the
Pending Tab. You can now see the Pending request waiting for approval.
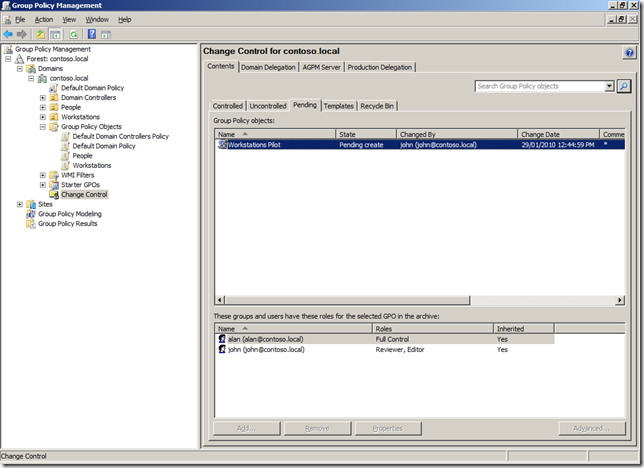
Now we will approve the New Controlled GPO request.
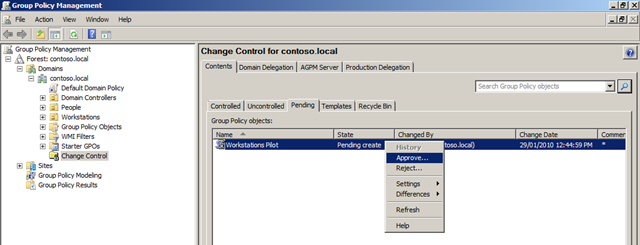
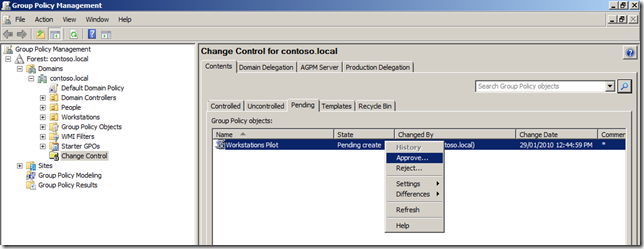
Step 6. Logon as Alan to a computer that has GPMC and the AGPM client
Step 7. Open GPMC and right click on
Change Control then click on the
Pending tab and the right click on the pending request and click on
Approve…
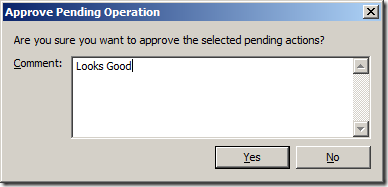
Step 8. Add a comment before you confirm the Approval action then click
Yes
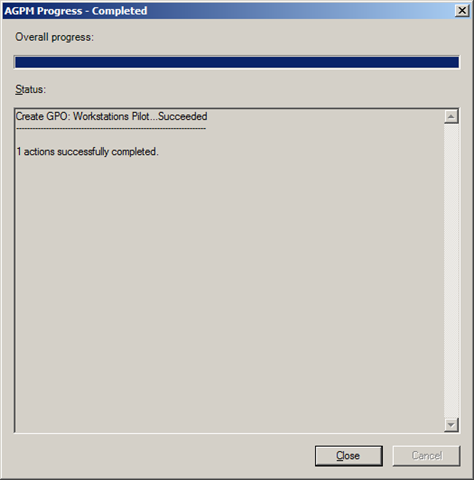
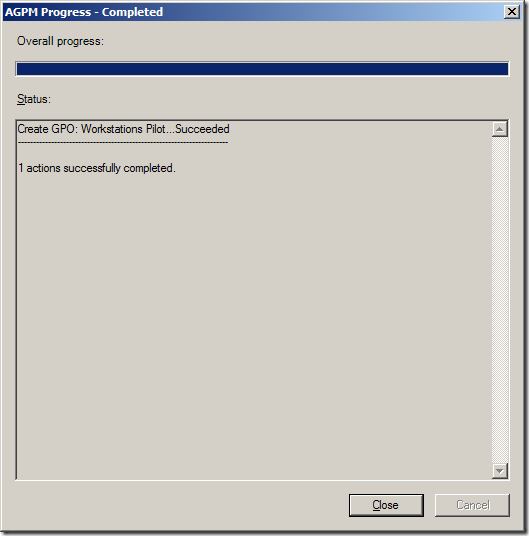
Step 9. Wait for it to Approve and then click
Close
Note: It is this stage that Alan can link the GPO manually to the Organisational Unit (OU).
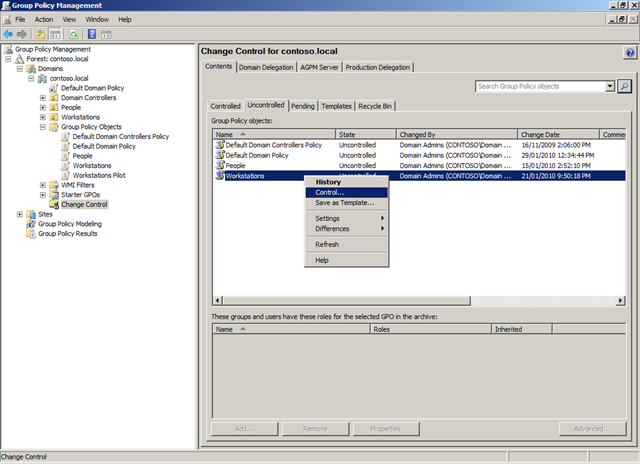
Stage 6. Making changes to GPO
Now John will check-out and edit a GPO from the Archive and then Alan will approve the GPO once John has finished his changes.
Step 1. Logon as John to a computer that has GPMC and the AGPM client
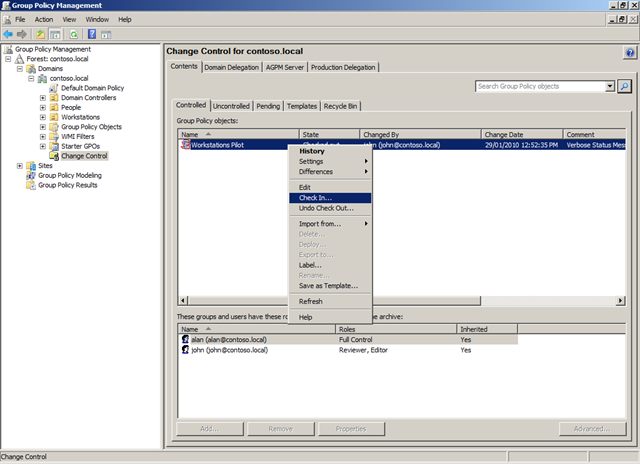
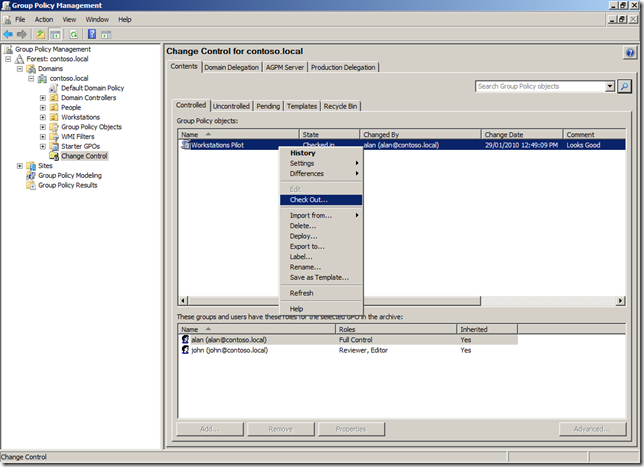
Step 2. Open GPMC and click on
Change Control and then then
Controlled tab then right click on the GPO you want to edit and click the
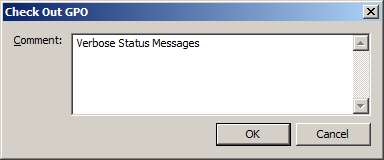
Check Out… option.
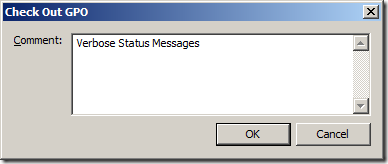
Step 3. Now enter a comment for the GPO when that describes the change you are about to make then click
OK
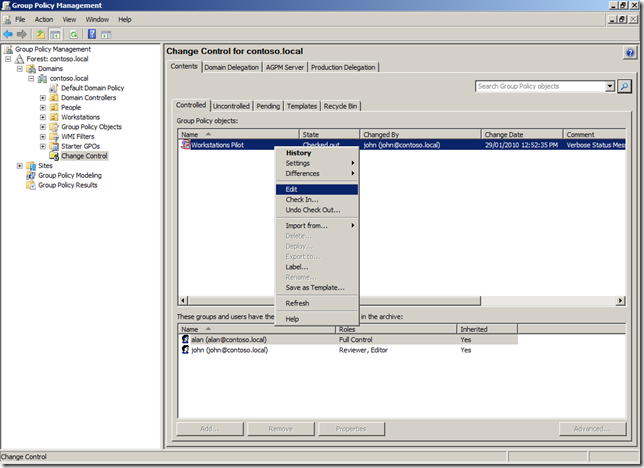
Step 4. Then click
Close

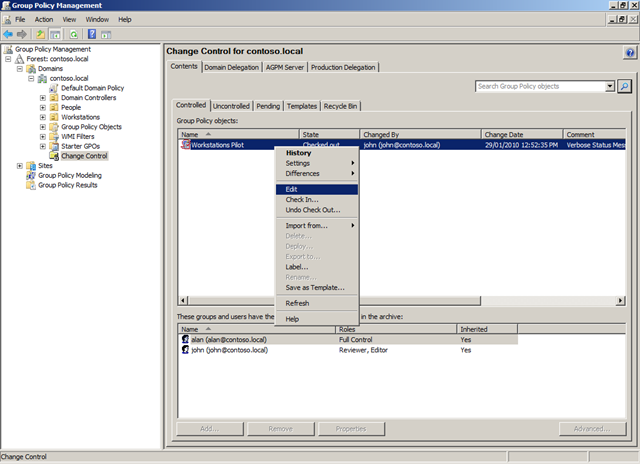
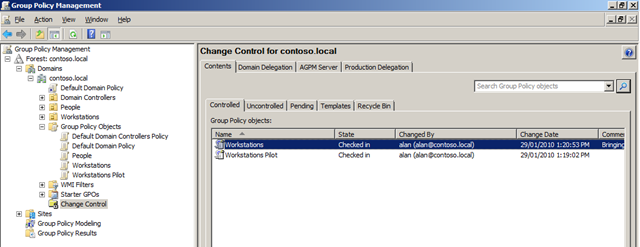
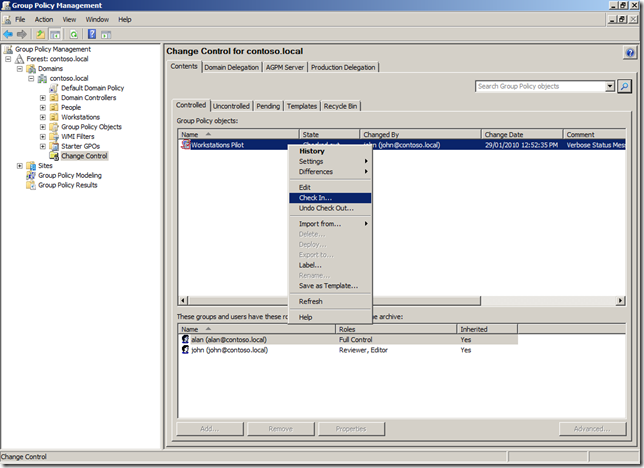
Step 5. Go back to the GPO in the
Controlled tab and right click on it and click
Edit
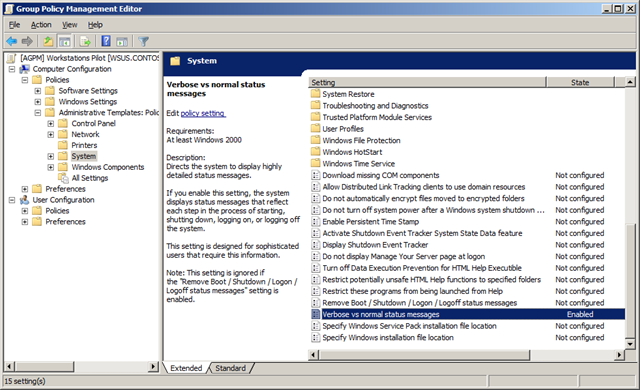
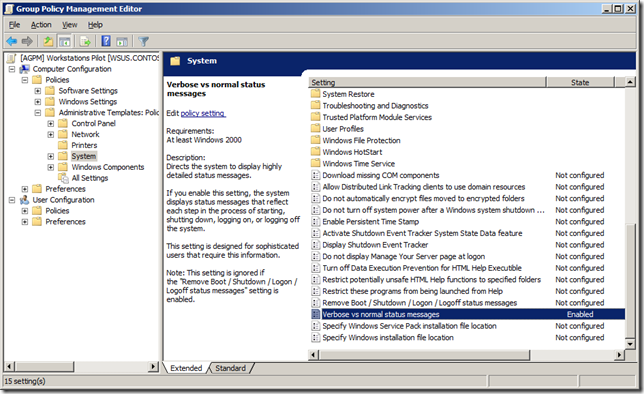
Step 6. Now edit the GPO using the Group Policy Management Editor with the changes you want to make. Then when you are finished just close the GPME.
Step 7. Right click on the GPO and then click on
Check In…
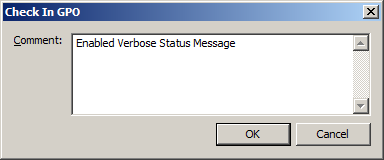
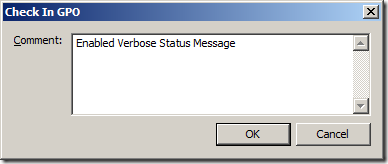
Step 8. Enter a description of the change when you want to assign with the check in and then click
OK
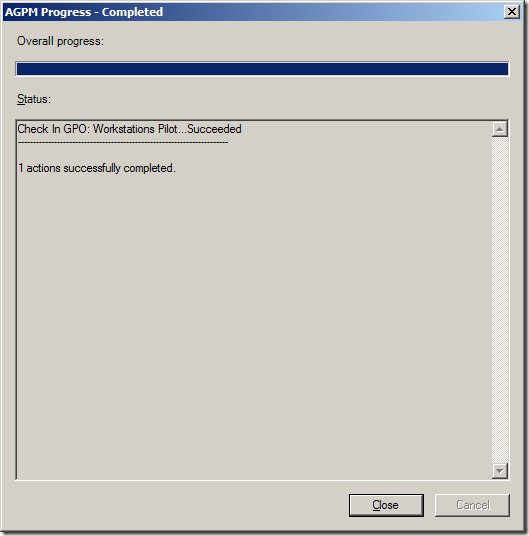
Step 9. Click
Close
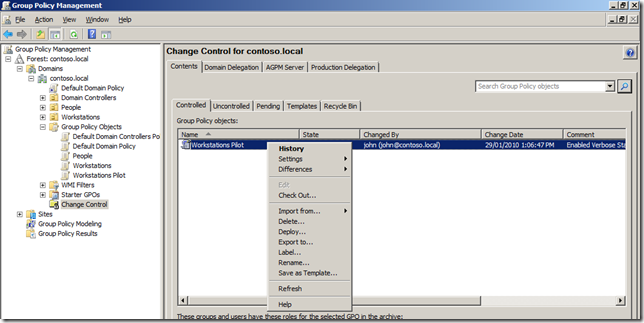
Step 10. Right click on the GPO and click
Deploy…
Step 11. Fill out the comment field describing the change for the person who is to review the change then click
Submit
Note: this is a good spot to put in your own Change Reference Number.
Step 12. Click
Close

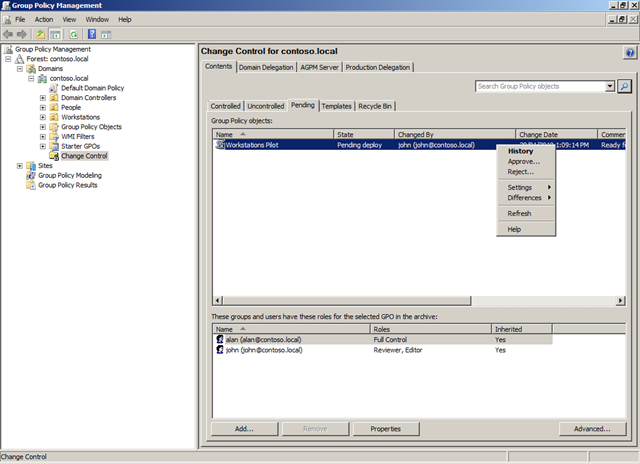
Step 13. Now logged on Alan open the GPMC and open the
Pending Tab then right click on the GPO and then click on
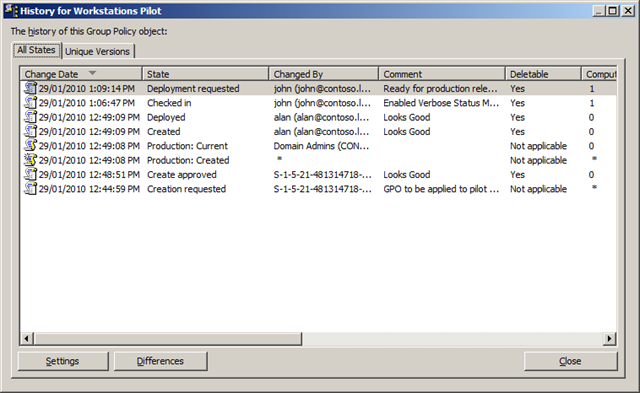
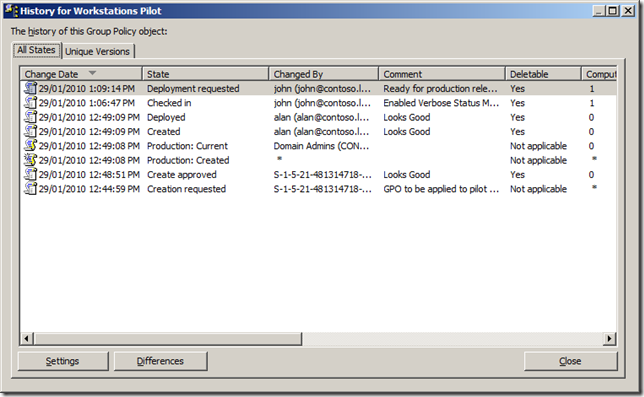
History
Step 14. Here you can review the modifications and check-in/out history of the GPO
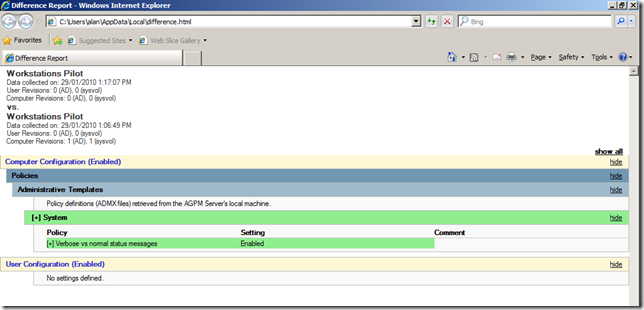
Step 16. You can also right click on the GPO and then go to
Differences and then click on
HTML Report.
Note: This will give you a HTML report highlighting all the changes that have been done to the GPO. This way you can easily review just the setting that have been changed if it is a GPO that has numerous settings configured. Highlighted section show the options that have changed.

 LinkBack URL
 About LinkBacks